Regularly testing an amplifier is essential to ensure that it is working correctly and producing the best possible sound quality.
An amplifier that is not working correctly can produce distorted sound, low volume, or even damage speakers. Testing an amplifier can also help to identify any problems before they become severe, which can save on costly repairs.

Equipment needed for testing
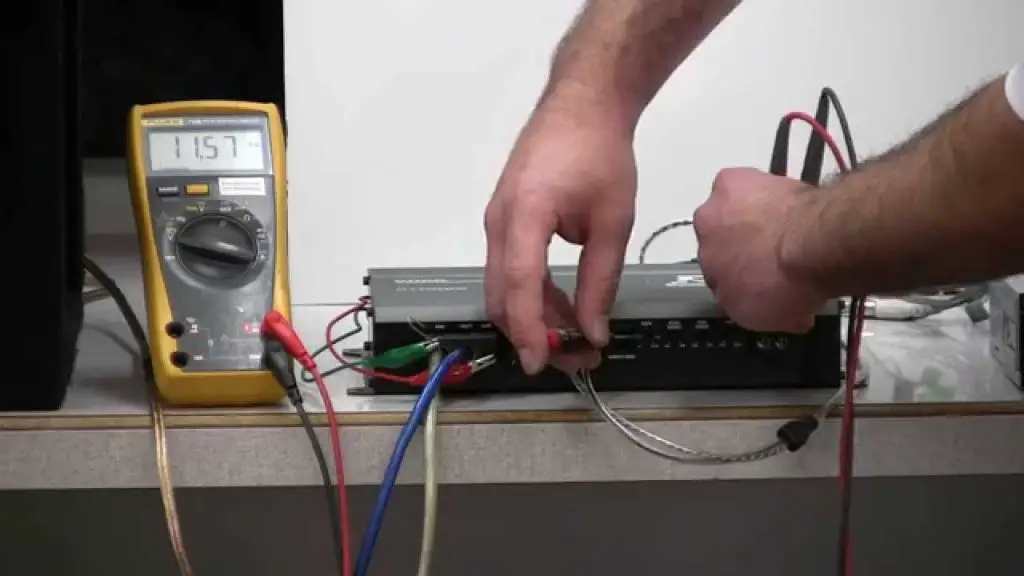
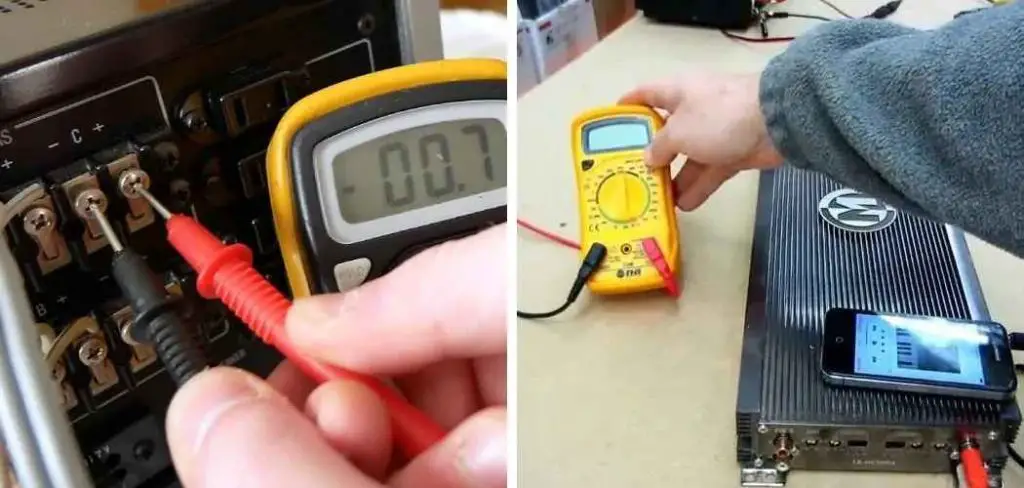
To test an amplifier, you will need a few basic tools. The most important tool is a multimeter, which is used to measure voltage and resistance.
You will also need an oscilloscope, which is used to measure the waveform of the audio signal.
A signal generator is also needed to generate test signals for the amplifier.
Lastly, you will need speakers to test the amplifier’s output.
Setting up for testing
Before starting to test the amplifier, it is important to make sure that all the equipment is connected correctly.
The multimeter should be connected to the amplifier’s power supply to measure voltage and resistance.
The oscilloscope should be connected to the amplifier’s input and output to measure the waveform of the audio signal.
The signal generator should also be connected to the amplifier’s input to generate test signals.
It’s also important to adjust the settings on the equipment properly. For example, set the oscilloscope to the correct time base and voltage range.
Before starting to test the amplifier, it’s also important to consider safety precautions. Make sure that the amplifier is disconnected from the power supply before making any connections.
Testing the amplifier’s power output
The first step in testing an amplifier is to measure its power output.
To do this, you will need to measure the voltage and current at the amplifier’s output.
You can then calculate the power output using the formula P = VI, where P is power, V is voltage, and I is current.
The power output should be compared to the manufacturer’s specifications to ensure that it is within the correct range.
This can indicate if the amplifier is working correctly or if there is a problem that needs to be addressed.
We have a detailed guide on testing amplifier with multimeter, you can check that for more details.

Testing the amplifier’s distortion
The next step in testing an amplifier is to measure its distortion.
Distortion is the deviation of the amplified signal from the original input signal.
It can cause a change in the harmonic content of the audio signal, and result in a less accurate reproduction of the original sound.
To test for distortion, a signal generator is used to generate a test signal of a specific frequency, such as a sine wave, and sent it through the amplifier.
The output of the amplifier is then measured using an oscilloscope.
The oscilloscope can display the waveform of the output signal, which can be compared to the waveform of the input signal.
The difference between the two waveforms is the amount of distortion that the amplifier is introducing.
The harmonic distortion is calculated by measuring the amplitude of the harmonic frequencies in the output signal.
The distortion should be compared to the manufacturer’s specifications to ensure that it is within the correct range.
Typically, a lower distortion value is better, as it means the amplifier is producing a more accurate reproduction of the original sound.
Testing the amplifier’s frequency response
The final step in testing an amplifier is to measure its frequency response.
Frequency response is the measure of how well the amplifier reproduces different frequencies.
It is the range of frequencies that the amplifier can accurately reproduce.
To test for frequency response, a signal generator is used to generate test signals of different frequencies.
The output of the amplifier is then measured using an oscilloscope.
The oscilloscope can display the waveform of the output signal, which can be compared to the waveform of the input signal.
The difference between the two waveforms is the frequency response of the amplifier.
The frequency response should be compared to the manufacturer’s specifications to ensure that it is within the correct range.
Typically, a flatter frequency response is better, as it means the amplifier is reproducing all frequencies equally well.

Conclusion
In this article, we have covered the process of testing an amplifier, including the equipment needed, setting up for testing, and the steps for testing the amplifier’s power output, distortion, and frequency response.
Testing an amplifier is essential to ensure that it is working correctly and producing the best possible sound quality.
By regularly testing an amplifier, you can identify any problems before they become severe and save on costly repairs.
Additionally, you can also compare the results with the manufacturer’s specifications to ensure the amplifier is working within the correct range
How often should I test my amplifier?
It is recommended to test your amplifier at least once a year, or more frequently if you use it frequently or in a professional setting.
However, it’s also a good idea to test the amplifier if you notice any issues with the sound quality or if you suspect that there might be a problem.
Can I test an amplifier with just a multimeter?
A multimeter can be used to test an amplifier’s power output by measuring the voltage and current, but it alone is not enough to fully test an amplifier.
An oscilloscope is needed to measure distortion and frequency response, and a signal generator is needed to generate test signals.
Can I use any speakers to test the amplifier’s output?
It’s best to use the speakers that you will be using with the amplifier for testing.
If that is not possible, use speakers with similar specifications as the ones you will use.
This will give you a better idea of the amplifier’s performance with the speakers you will actually be using.
Can I test an amplifier that’s built-in to a device such as a receiver?
Yes, you can test an amplifier that is built-in to a device such as a receiver.
However, you may need to consult the device’s manual for specific instructions on how to access the amplifier for testing.
Additionally, you may need to use the device’s built-in test tones or signals for testing, instead of using external signal generators.
