Subwoofers play an essential role in a car audio system by providing deep and powerful bass. A clean subwoofer not only enhances the overall audio experience but also prolongs the lifespan of the subwoofer.
In this article, we will guide you through the steps of cleaning a subwoofer, ensuring that your subwoofer remains in a clean and top condition.

Types of Subwoofers
Before diving into the cleaning process, it’s important to know the different types of subwoofers available. There are two main types of subwoofers: passive and active.
Passive Subwoofers
Passive subwoofers are those that are not integrated with an amplifier and have to rely on an external amplifier for additional power. Passive subwoofers are usually found in car audio systems, and they’re easier to clean as they have fewer parts to worry about.
Active Subwoofers
Active subwoofers, on the other hand, are those integrated with an amplifier and can work independently without the need for an external amplifier. Active subwoofers are usually found in home theater systems.
They require more effort to clean as they have more parts, such as the amplifier and the control panel, to worry about.
What You’ll Need to Clean a Subwoofer
Before starting the cleaning process, it’s essential to gather all the necessary materials and tools.
Cleaning Materials
- Microfiber cloth
- Isopropyl alcohol
- Cleaning solution
- Water
Tools
- Vacuum cleaner
- Screwdriver

Preparing the Subwoofer
The first step in cleaning a subwoofer is to turn off and unplug the subwoofer to avoid any potential electrical hazards. Next, remove the grille of the subwoofer to access the subwoofer cone and the surrounding areas.
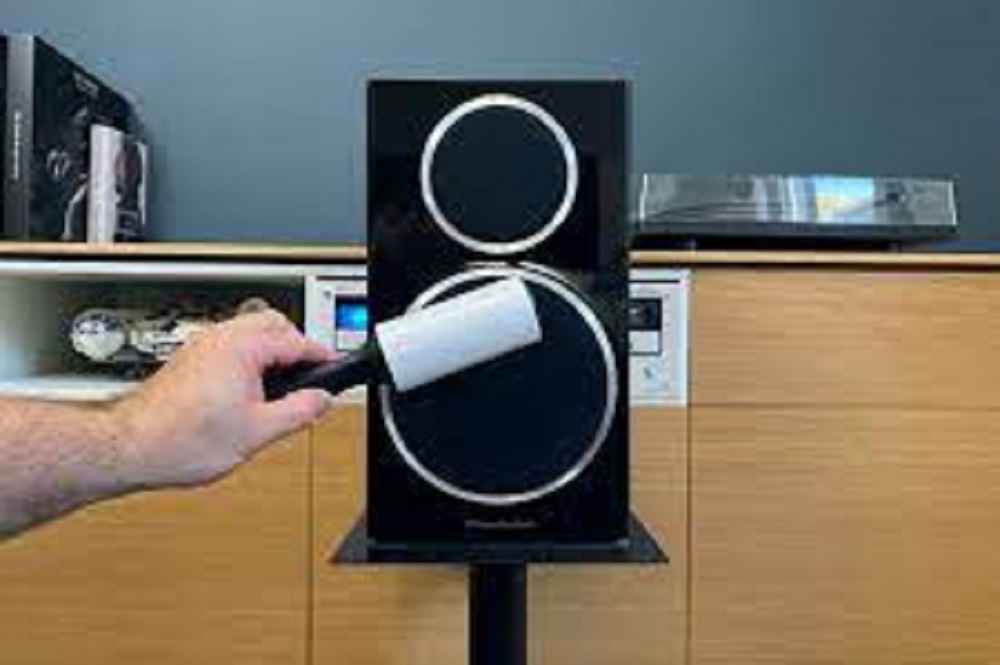
Use a vacuum cleaner to remove any visible dust from the subwoofer.
Cleaning the Subwoofer
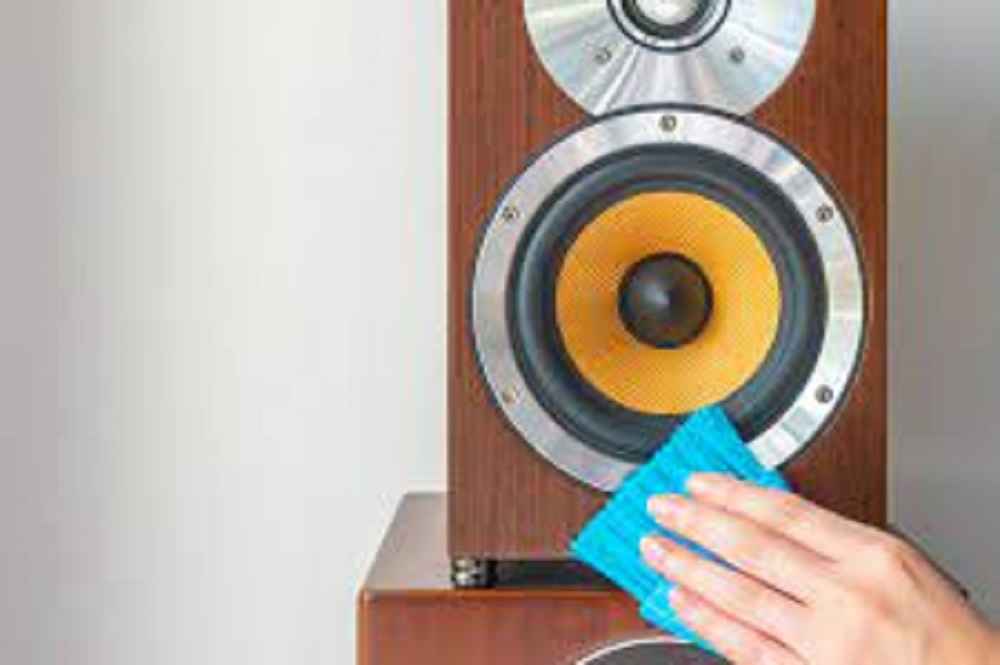
After removing the dust, it’s time to clean the surfaces of the subwoofer. Start by wiping the surfaces with a damp microfiber cloth to remove any loose dirt and grime.
Next, use a cleaning solution, such as a mixture of water and isopropyl alcohol, to clean the surfaces thoroughly. Make sure to wring out the cloth before wiping the subwoofer to avoid any water damage.
Finally, dry the subwoofer with a clean microfiber cloth.
Cleaning the Subwoofer Cone
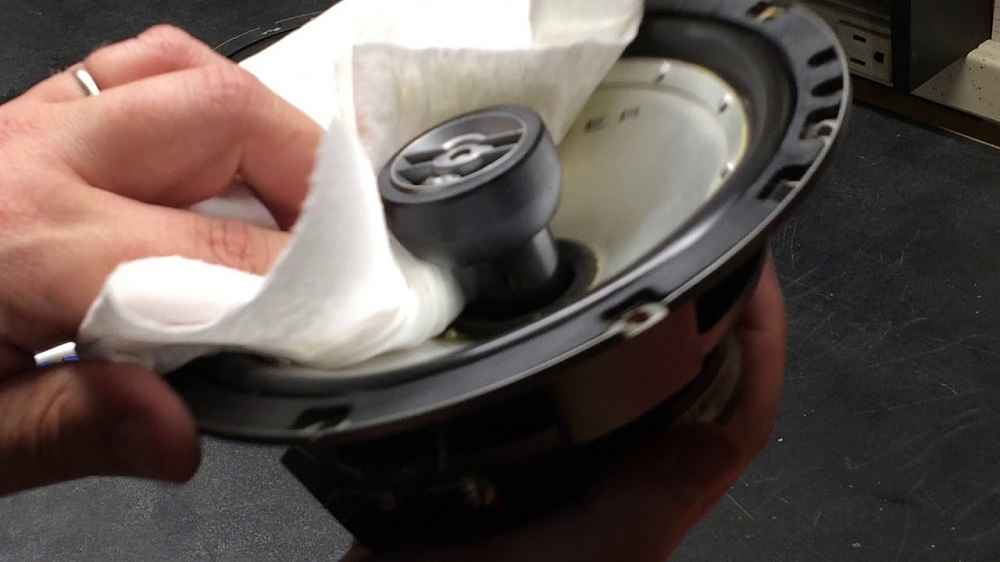
The subwoofer cone is the most critical part of a subwoofer, and it’s essential to handle it with care. Start by wiping the cone with a damp microfiber cloth to remove any loose dirt and grime.
Then, use a cleaning solution, such as a mixture of water and isopropyl alcohol, to clean the cone thoroughly. Make sure to avoid spraying any cleaning solution directly on the cone as this may damage the cone’s material.
Finally, dry the cone with a clean microfiber cloth. When cleaning the cone, be careful not to push in or depress the cone.
Cleaning the Voice Coil
The voice coil is responsible for generating the sound in a subwoofer, and it’s essential to keep it clean. To clean the voice coil, you’ll need to disassemble the subwoofer.
First, use a screwdriver to remove the screws that hold the subwoofer in place. Then, carefully remove the subwoofer from the enclosure. Finally, clean the voice coil with a clean microfiber cloth.
Reassembling the Subwoofer
After cleaning the voice coil, it’s time to reassemble the subwoofer. Make sure to reassemble the subwoofer in the reverse order that you disassembled it.
Replace the screws, and make sure they’re tightened properly to avoid any potential mechanical issues. Before disassembling the subwoofer, ensure that you know how to couple it back together.
Tips and Tricks
Here are some tips and tricks that will help you keep your subwoofer in top condition.
Regular Cleaning
It’s essential to clean your subwoofer regularly to ensure that it’s always in top condition. A clean subwoofer not only enhances the overall audio experience but also prolongs the lifespan of the subwoofer.
Avoid Water Damage
Water and electronics don’t mix well, so it’s essential to avoid getting any water inside the subwoofer. Wring out the cloth before wiping the subwoofer to avoid any water damage.
Maintenance
Regular maintenance is crucial for keeping your subwoofer in top condition. Check the subwoofer regularly for any signs of damage or wear and replace any parts that are worn out.

Conclusion
In conclusion, cleaning a subwoofer is an essential task that will help enhance the overall audio experience and prolong the lifespan of the subwoofer.
By following the steps outlined in this article, you can ensure that your subwoofer is always in top condition. Also, regular cleaning, avoiding water damage, and proper maintenance are key to prolonging the lifespan of your subwoofer.
Can I clean the subwoofer with any other cleaning solution besides isopropyl alcohol and water?
Yes, you can use other cleaning solutions, such as specialized speaker cleaning solutions, as long as they don’t contain any harsh chemicals that may damage the subwoofer.
Always check the manufacturer’s recommendations before using any cleaning solution.
How often should I clean my subwoofer?
It’s recommended to clean your subwoofer every 6 to 12 months, or whenever you notice any buildup of dirt or grime. Regular cleaning will ensure that your subwoofer is always in top condition.
Can I use any cloth to clean my subwoofer?
It’s recommended to use a microfiber cloth for cleaning the subwoofer. Microfiber cloths are gentle on the surfaces of the subwoofer and won’t leave any lint or residue.
What should I do if I notice any damage or wear on my subwoofer?
If you notice any damage or wear on your subwoofer, it’s recommended to replace the damaged parts as soon as possible. Continuing to use a damaged subwoofer may result in further damage or even permanent damage.
Can I clean the subwoofer while it’s still connected to the audio system?
No, it’s recommended to turn off and unplug the subwoofer before cleaning it to avoid any potential electrical hazards. Additionally, removing the grille of the subwoofer will make it easier to access the subwoofer cone and the surrounding areas.
