
When it comes to car audio systems, a subwoofer plays a crucial role in delivering deep and impactful bass. However, a seized subwoofer can significantly hamper your audio experience, resulting in distorted sound or complete silence.
As an expert in the car audio field, I understand the frustration that arises from encountering such an issue. That’s why I have put together this detailed guide to help you fix a seized subwoofer and restore your car’s audio system to its full potential.
Understanding Subwoofer Seizure:
Before diving into the steps to fix a seized subwoofer, let’s take a moment to understand what causes this issue. There are several factors that can contribute to a subwoofer seizing up in a car audio system. These include:
Overheating due to prolonged use:
Continuous and excessive use of your subwoofer can lead to overheating. When the voice coil inside the subwoofer gets too hot, it can expand and seize up, rendering the subwoofer inoperable.
Electrical issues or short circuits:
Faulty wiring, inadequate power supply, or electrical shorts can also cause a subwoofer to seize. These issues can disrupt the flow of electricity to the subwoofer, leading to malfunction.
Mechanical problems such as worn-out parts:
Over time, the mechanical components of a subwoofer, including the voice coil, cone, and suspension, can wear out or become damaged. This can result in the subwoofer seizing or producing distorted sound.
Identifying the Signs of a Seized Subwoofer:
To effectively address a seized subwoofer, it’s important to identify the signs that indicate a problem. Pay attention to the following indicators:
No sound or distorted sound:
One of the most obvious signs of a seized subwoofer is the absence of sound or the production of distorted, muffled audio. If you notice that the bass has disappeared or sounds unnatural, it’s likely that your subwoofer is seized.
Unusual vibrations or rattling noises:
A seized subwoofer may also manifest in the form of abnormal vibrations or rattling noises coming from the speaker. These vibrations can indicate that the subwoofer’s components are not functioning as they should.
Now that we have a clear understanding of subwoofer seizure and how to identify the signs, let’s move on to the steps you can take to fix a seized subwoofer.
Steps to Fix a Seized Subwoofer:
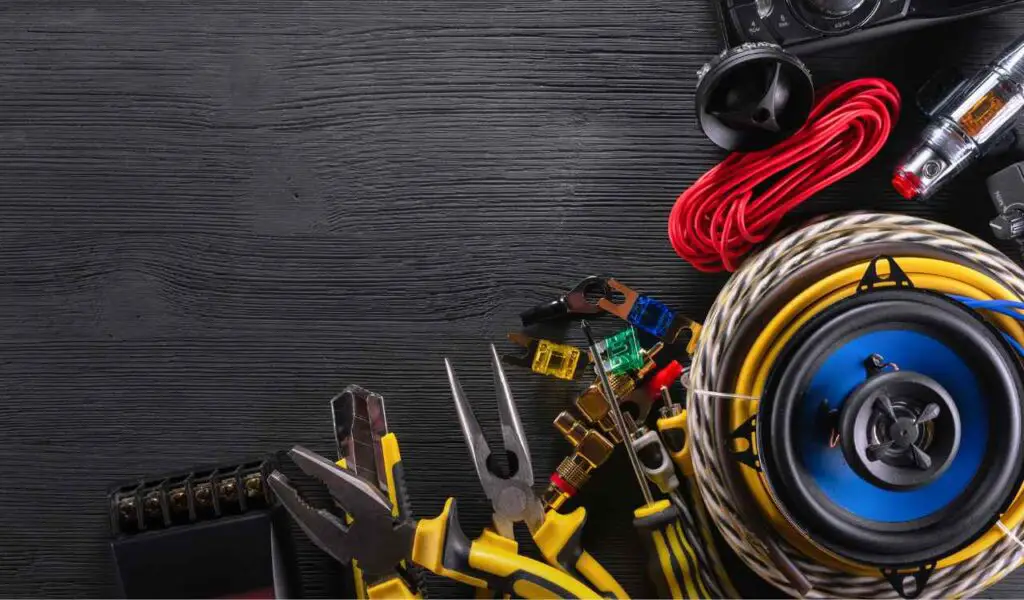
Before we begin, gather the necessary tools and materials to ensure a smooth repair process. You will need:
- Screwdriver set: To disassemble and reassemble the subwoofer.
- Multimeter: This handy tool will help you test the subwoofer’s electrical connections and diagnose any issues.
- Replacement parts (if needed): Depending on the extent of the damage, you may require replacement components such as a new voice coil or cone.
Now, let’s proceed with the step-by-step process of fixing a seized subwoofer:
Disconnect the subwoofer from the power source:
Before attempting any repairs, ensure that the subwoofer is completely disconnected from the car’s power supply. This will prevent any electrical mishaps and ensure your safety.
Inspect the subwoofer for visible damage or loose connections:
Carefully examine the subwoofer for any visible signs of damage, such as frayed wires, loose connections, or physical damage to the cone or surround. Check the wiring and connectors for any signs of wear or corrosion.
Test the subwoofer with a multimeter:
Using a multimeter, you can measure the impedance of the voice coil and check for continuity in the wiring. Here’s how to perform these tests:
a. Measuring the impedance of the voice coil:
Set your multimeter to the resistance or ohms mode and touch the meter leads to the positive and negative terminals of the subwoofer’s voice coil.
A functioning voice coil should show a consistent resistance reading within the specified range provided by the manufacturer. If the reading is significantly higher or lower than expected, it indicates a problem with the voice coil.
b. Checking for continuity in the wiring:
Set your multimeter to the continuity or ohms mode and touch the meter leads to different points along the subwoofer’s wiring, including the terminals and connections.
A continuous tone or a low resistance reading indicates that the wiring is intact and properly connected. If there is no continuity or a high resistance reading, there may be a break or loose connection in the wiring.
Repairing or replacing damaged components:
Based on your inspection and test results, you can now determine the necessary repairs. Here are a few common repair scenarios:
a. Fixing loose connections or solder joints:
If you find any loose connections or solder joints, carefully reattach or solder them securely. Ensure that all connections are tight and properly insulated to prevent future issues.
b. Replacing a damaged voice coil:
If the voice coil is damaged or shows a significantly abnormal resistance reading, you will need to replace it. This involves carefully removing the old voice coil and installing a new one that matches the specifications of your subwoofer.
c. Replacing a damaged cone:
If the subwoofer cone shows physical damage or tears, it may be necessary to replace it. This requires removing the old cone and attaching a new one with proper adhesives and alignment.
It’s important to note that repairing or replacing components requires technical expertise. If you are not comfortable with these tasks, it’s best to seek assistance from a professional car audio technician.
Reassembling the subwoofer:
Once you have completed the necessary repairs or replacements, it’s time to reassemble the subwoofer. Ensure that all components are securely fastened and aligned correctly. Double-check the wiring connections to make sure they are tight and properly insulated.
By following these steps, you should be able to fix a seized subwoofer in your car audio system. However, it’s crucial to take preventive measures to avoid future issues and extend the lifespan of your subwoofer.
Preventive Measures:
To minimize the chances of subwoofer seizure, consider the following preventive measures:
Proper subwoofer installation techniques:
When installing a subwoofer, ensure that it has adequate ventilation to dissipate heat. Use a subwoofer box or enclosure that is specifically designed for your subwoofer model. This helps protect the subwoofer and improves overall sound quality.
Regular maintenance and cleaning:
Periodically inspect your subwoofer for any dust or debris that may have accumulated. Clean the subwoofer using a soft brush or cloth to prevent any blockage or damage to the components. Additionally, check for loose connections and tighten them if necessary.
Avoid excessive volume levels or prolonged use:
Continuous high-volume levels can cause excessive strain on the subwoofer, leading to overheating and potential seizure. Avoid prolonged use at maximum volume levels and give your audio system some rest to prevent overheating.
Invest in high-quality subwoofers and components:
Choosing reputable brands and high-quality subwoofers can make a significant difference in terms of durability and performance. Quality components are less likely to fail or seize up prematurely.
Conclusion:
A seized subwoofer can be frustrating, but with the right knowledge and steps, you can effectively diagnose and fix the issue. By understanding the causes of subwoofer seizure, identifying the signs, and following the detailed repair process outlined in this article, you can restore your car’s subwoofer to its optimal functioning.
Remember, prevention is key to avoiding future subwoofer seizure. Proper installation techniques, regular maintenance, and avoiding excessive volume levels or prolonged use are essential practices to ensure the longevity of your subwoofer. Additionally, investing in high-quality subwoofers and components will provide you with a more reliable and enjoyable audio experience.
If you find yourself uncertain or uncomfortable with any of the repair steps, it is highly recommended to seek assistance from a professional car audio technician. They have the expertise and specialized tools to handle complex repairs and ensure the best outcome for your subwoofer.
By taking the time to address a seized subwoofer promptly and implementing preventive measures, you can enjoy the powerful bass and immersive audio experience that car subwoofers are designed to deliver. Remember to prioritize safety and be patient throughout the repair process.
Maintaining a well-functioning subwoofer not only enhances your listening pleasure but also adds value to your overall car audio system. With the information and guidance provided in this article, you now have the necessary knowledge to confidently fix a seized subwoofer and enjoy the full potential of your car’s audio system once again.
Stay tuned for future articles on car audio tips, troubleshooting, and more expert advice from our car audio enthusiasts to help you make the most of your audio experience on the road.