
Replacing the factory amplifier in your vehicle with an aftermarket amplifier can be a great way to improve the overall sound quality of your car’s audio system.
Not only will an aftermarket amplifier provide more power and better sound quality, but it can also be more customizable and flexible than the factory amplifier.
In this article, we will guide you through the process of replacing your factory amplifier with an aftermarket amplifier.
How to Replace Factory Amp with Aftermarket?
If you wish to replace the factory amp in your car with an aftermarket amp, follow these simple steps carefully:
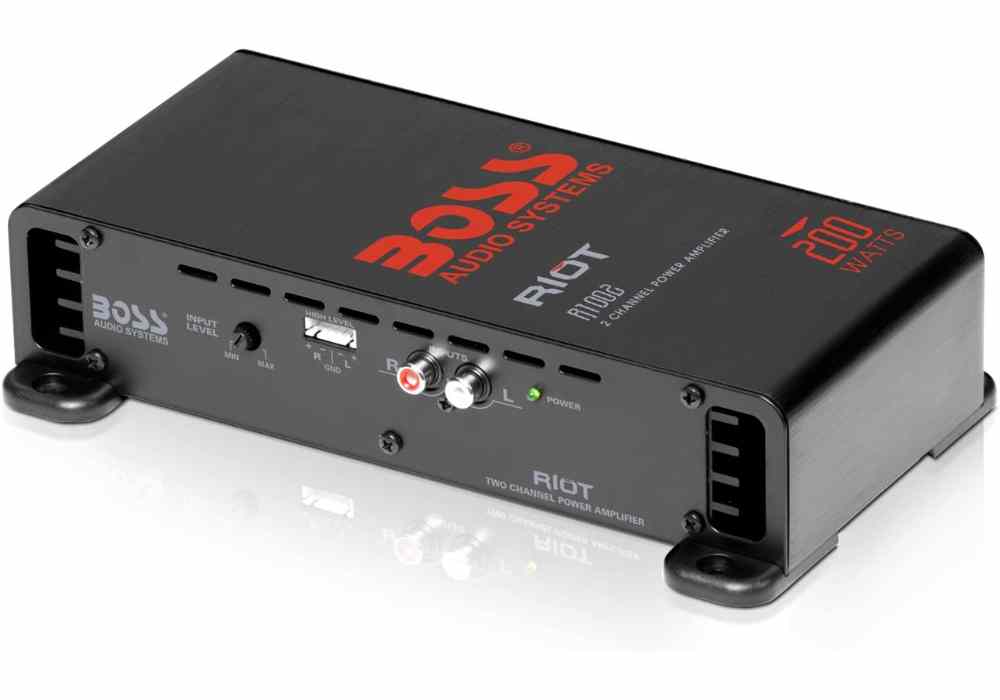
Pick the Best Amplifier for Your Car
Before we start with the step-by-step process, let’s take a look at a couple of the most popular and highly-rated car amplifiers.
Turn Off Your Car Engine
To replace the factory amp in your car, you will have to touch or tamper with your car’s electrical system. To protect yourself, your car, and your car’s audio system, make sure that you first turn off your car engine before you start the replacement process.
Turning off the car engine is not enough. You should also remove the negative terminal on the battery and set it aside. This way you’re certain that no current is flowing through the car and that you’re work-safe handling the electrical system.
Locate the Factory Amp
Locate where the factory amp is placed in your car. In most cars, the amp is placed in the trunk behind the left carpet panel. Sometimes, you may find the factory amp under the driver’s seat. You can do a Google search or refer to your car’s manual to find out where the factory amp is located.
Remove the Factory Amp
The factory amp is usually held down with 4 bolts. Unscrew the bolts and remove the factory amp. Being a factory amp, the wiring connections on the amp will likely come with a wire/cable harness to ensure a clean and secure connection.
Carefully disconnect the wire harness plug from the amp and cut it off with a cutter or pliers to have bare wires. You should only skip this if the aftermarket amp you purchase will be using the same wire harness plug.
When you’re cutting off the wire harness plug, leave about two inches of wires on the plug. You may have a reason to reconnect your factory amp in the future. But if the wires on the harness plug are too short, reusing the plug may be impossible.
Sort the Wires
Now you have a bunch of wires in your hand and you may find it a bit difficult to know how to make proper connections. But one thing is certain, the color codes will remain the same to guide you during the connection. Here is a guide on what each color stands for:
Power wires
- The thick red (or blue) wire is the power wire
- The thick brown (or black) wire is the ground wire
- The blue (or white) wire is the remote/acc wire
Right speaker wires
- Orange or orange-brown
- White or white-brown
- Purple or purple-brown
Left speaker wires
- Green or green-brown
- Gray or gray-brown
- Pink or pink-brown
For speaker wires, wires with solid colors (or stripes/dashed lines) are the positive wires.
Connect the Wires
Be watchful and connect all these wires accordingly and tightly to your aftermarket amp. Cover any exposed wire connections with insulating tape to avoid bad contacts and short-circuiting.
After connecting the wires above, you should have about four thin wires left – blue (or blue-red), red (or red-brown), yellow (or yellow-brown), and white (or black). These are the RCA input wires and some needless wires. The RCA input wires are responsible for sending audio signals from your stereo or head unit to your amp.
Look behind the aftermarket amp for the type of RCA inputs it has – clip, screw, plug. Clip and screw inputs are easy to connect but you have to be careful with connections if you have a plug RCA input. Make sure that the blue (blue-red) wire goes to the left channel rear while the red (red-brown) wire goes to the right channel rear.
If your aftermarket amp uses a plug RCA input, buy a set of RCA cables and cut it about 3 inches from the head. Carefully slice the insulation to expose the wires inside – the wire in the middle is the positive one while the other one is the negative wire. Carefully connect these wires to the remaining set of wires accordingly.
Cover the splice with insulating tape and also cap those wires you won’t be using. Make sure that no wiring connection is exposed.
Reconnect the Battery Terminal
Once you have connected all the wires, reconnect the negative terminal on your battery and turn on the car engine. Turn on the just-connected aftermarket amp and check if powers on. If it powers on, you’re good to go.
But if the aftermarket amp doesn’t power on, turn off the car engine, disconnect the battery’s negative terminal, and run a check on the power connections again.
Adjust the Gain
Once your aftermarket amp turns on, adjust the gain before playing music through the head unit. What the gain does is control how loud the amp outputs the audio from the head unit.
Look out for the gain control on the amp – it’s either a screw or knob but it’s usually labeled “Gain.” Some amps label it “Amp Sensitivity.” Either your amp uses a screw or knob gain control, turn it anticlockwise completely to lower the gain.
Test your Aftermarket Amp
The final step is to play music or audio from your head unit and listen to the output from the speakers, adjust the volume and the gain to ensure that you receive the best output from the speakers.
Conclusion:
Replacing your factory amplifier with an aftermarket amplifier can be a rewarding project that can greatly improve the sound quality of your car’s audio system. By following the steps outlined in this article, you can successfully install an aftermarket amplifier in your vehicle.
Just remember to take your time, be patient, and consult the instructions provided by the manufacturer of your amplifier.
With the right tools and some careful planning, you can enjoy improved sound quality and greater flexibility with your car’s audio system.