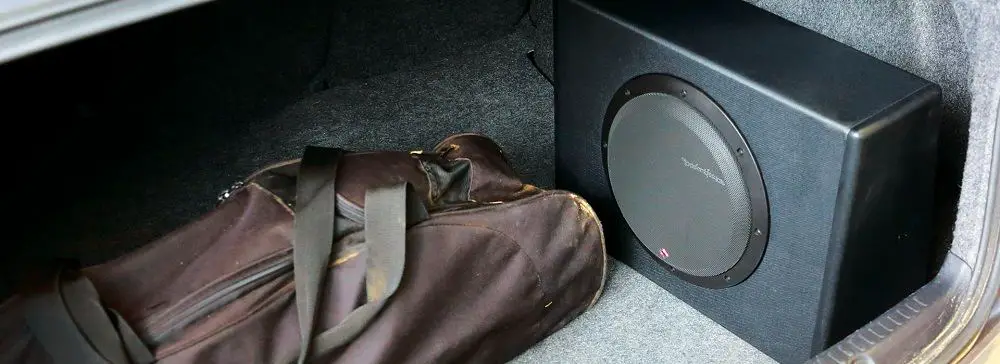
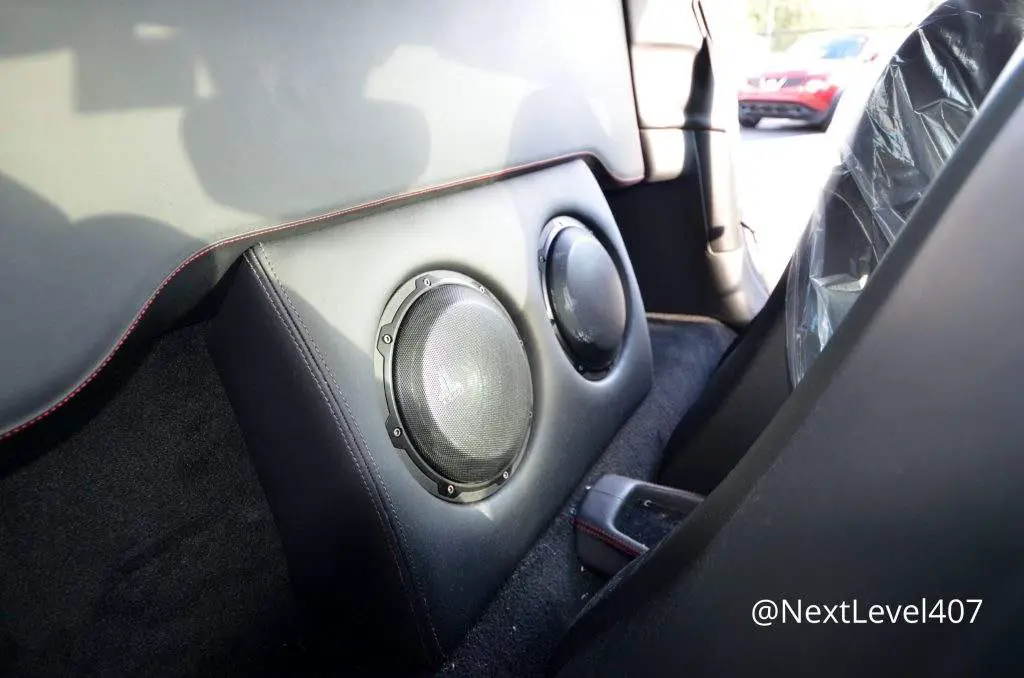
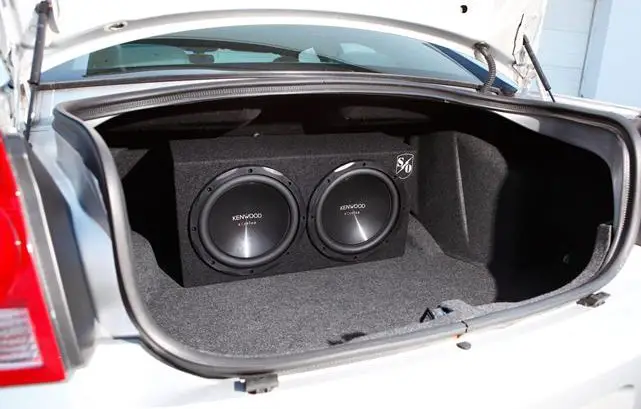
A car subwoofer is a type of speaker designed specifically to reproduce low-frequency sounds, also known as bass.
It is an essential component of a car audio system, as it provides the deep, rich sound that many car audio enthusiasts crave.

In this article, we will explain how to test a car subwoofer, including what equipment and tools are needed, how to set up the test environment, and how to test the subwoofer’s electrical parameters and sound quality.
We will also provide troubleshooting and maintenance tips to ensure that your subwoofer is performing at its best.
Equipment Needed
To test a car subwoofer, you will need the following equipment and tools:
Multimeter:
This is a device that can measure various electrical parameters, such as voltage, current, and resistance.
Decibel Meter:
This is a device that measures sound pressure levels in decibels (dB).
Test tone generator:
This is a device that generates a variety of test tones, including sine waves, square waves, and pink noise. It can be used to test the subwoofer’s frequency response and distortion.
Signal generator:
This is a device that generates a signal, such as a sine wave or square wave, at a specific frequency and amplitude.
Oscilloscope:
This is an electronic test instrument that allows you to visualize the waveform of an electrical signal.
RCA cables:
These are cables that are used to connect the subwoofer to the amplifier and test tone generator.
Setting Up the Test
Before you begin testing your car subwoofer, it is important to set up the test environment properly. Follow these steps:
- Position the subwoofer in the car where it will be installed.
- Connect the subwoofer to the amplifier using RCA cables. Make sure the connections are secure and the polarity is correct.
- Connect the amplifier to the test tone generator using RCA cables.
- Turn on the amplifier and test tone generator, and set the volume to a moderate level.

Testing the Subwoofer’s Electrical Parameters
Now that the test environment is set up, it’s time to test the subwoofer’s electrical parameters. We will be using a multimeter to measure the following parameters:
Impedance:
This is a measure of the subwoofer’s resistance to the flow of electrical current.
The normal range for impedance is typically between 2 and 8 ohms.
To test the subwoofer’s impedance, set the multimeter to the “ohms” setting and touch the probes to the subwoofer’s terminals.
Sensitivity:
This is a measure of how efficiently the subwoofer converts electrical energy into sound energy.
The normal range for sensitivity is typically between 85 and 95 dB.
To test the subwoofer’s sensitivity, place the decibel meter at a distance of 1 meter from the subwoofer and measure the sound pressure level.
It’s worth noting that you should consult the subwoofer’s manual or the manufacturer’s website for the specific parameters, as the range of normal values may vary depending on the subwoofer type and model.
If the subwoofer falls outside of the normal range for any of these parameters, it may be faulty and should be repaired or replaced.
Testing the Subwoofer’s Sound Quality
Now that we have tested the subwoofer’s electrical parameters, it’s time to test the subwoofer’s sound quality.
We will be using a test tone generator to test the following aspects:
Frequency response:
This is a measure of how well the subwoofer reproduces different frequencies.
The normal range for frequency response is typically between 20 Hz and 200 Hz.
To test the subwoofer’s frequency response, set the test tone generator to generate a sine wave at different frequencies and observe the subwoofer’s output using an oscilloscope.
Distortion:
This is a measure of how much the subwoofer’s output deviates from the input signal.
The normal range for distortion is typically less than 10%.
To test the subwoofer’s distortion, set the test tone generator to generate a sine wave at a specific frequency and amplitude, and observe the subwoofer’s output using an oscilloscope.
Again, it’s worth noting that you should consult the subwoofer’s manual or the manufacturer’s website for the specific parameters, as the range of normal values may vary depending on the subwoofer type and model.
If the subwoofer falls outside of the normal range for any of these aspects, it may be faulty and should be repaired or replaced.
Troubleshooting and Maintenance
Despite proper testing, there may be times when your car subwoofer doesn’t perform as expected. Here are some common problems and their solutions:
No sound:
Check that all the connections are secure and the polarity is correct. Also, check that the amplifier and test tone generator are turned on and set to the correct volume.
Distorted sound:
Check that the volume is not set too high. Also, check that the subwoofer’s impedance and sensitivity are within the normal range.
Lack of bass:
Check that the subwoofer is positioned correctly in the car and that the frequency response is within the normal range.
To ensure optimal performance, it is important to maintain your car subwoofer. Here are some tips:
Keep the subwoofer clean:
Dust and debris can accumulate on the subwoofer’s cone, reducing its performance. Use a damp cloth to wipe the cone clean.
Avoid extreme temperatures:
Extreme temperatures can damage the subwoofer’s components. Keep the subwoofer away from direct sunlight and heat sources.
Handle with care:
Be careful when handling the subwoofer to avoid damaging the cone or the voice coil.

Conclusion
In this article, we have explained how to test a car subwoofer, including what equipment and tools are needed, how to set up the test environment, and how to test the subwoofer’s electrical parameters and sound quality.
We have also provided troubleshooting and maintenance tips to ensure that your subwoofer is performing at its best.
Remember to consult the subwoofer’s manual or the manufacturer’s website for the specific parameters and range of normal values before you proceed with the testing.
By following the steps outlined in this article, you can be confident that your car subwoofer is working properly and providing the deep, rich bass sound that you desire.
Can I test a car subwoofer without a multimeter?
While a multimeter is the best tool for measuring the subwoofer’s electrical parameters, you can use a test tone generator and an oscilloscope to test the subwoofer’s sound quality.
However, it’s worth noting that you will not be able to test the impedance and sensitivity without a multimeter.
Is it necessary to use an oscilloscope to test the subwoofer’s sound quality?
While an oscilloscope is not necessary to test the subwoofer’s sound quality, it can provide a visual representation of the subwoofer’s output, which can be helpful when identifying problems.
If you don’t have an oscilloscope you can use a signal generator to test the subwoofer’s sound quality.
Can I test a car subwoofer without a test tone generator?
A test tone generator is the best tool for testing the subwoofer’s sound quality, as it can generate a variety of test tones at different frequencies and amplitudes.
However, you can also use a signal generator and test CD’s to test the subwoofer’s frequency response and distortion.
Do I need to test a new subwoofer?
While it is not necessary to test a new subwoofer, it is a good idea to do so to ensure that it is working properly before installation.
This will also allow you to compare the subwoofer’s performance with the manufacturer’s specifications.
Can a subwoofer be repaired if it fails the test?
If a subwoofer fails the test, it may be possible to repair it.
However, the cost of repairs may be more than the cost of a new subwoofer, so it is worth considering whether it is more cost-effective to replace the subwoofer.
If the subwoofer is under warranty, you should consult the manufacturer or the seller.
